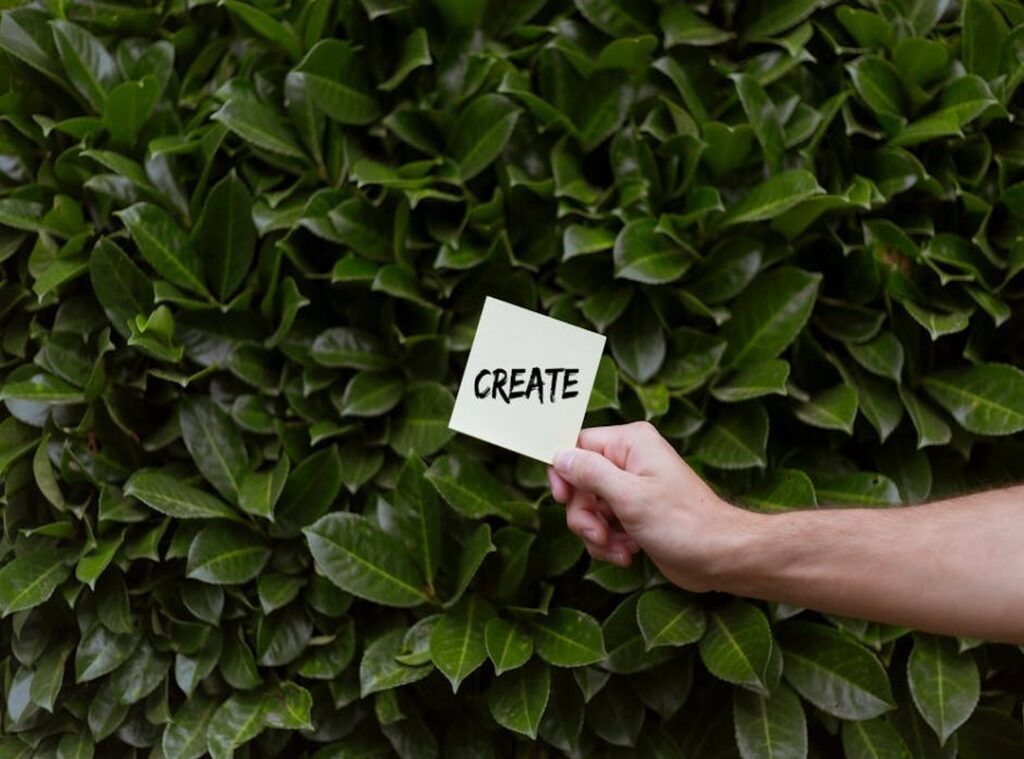
Creating places on Roblox can be a fun and rewarding experience. I’ve been there, done that, and I know how confusing it can be at first. But don’t worry, I’m here to help you through it.
First off, let’s get one thing straight: web.roblox/places/create is your go-to spot. It’s where the magic happens. You might be wondering, “Is it really that simple?” Yes, it is.
But it’s not just about clicking a few buttons. There’s a bit more to it. You need to set up and customize your place.
And that’s exactly what we’ll cover.
I’ll walk you through each step, so you can create something awesome. No fluff, no nonsense, and just clear, straightforward instructions.
Ready to dive in, and let’s get started.
Accessing the Create Place Feature
First things first, you need to log into your Roblox account. Simple, right? Just head over to the Roblox website and enter your username and password.
Once you’re logged in, it’s time to navigate to the Create Place feature. Here’s how:
- Go to the top navigation bar.
- Click on “Create.”
- Select “Places” from the dropdown menu.
- Click on “Create New Place.”
Now, you should be on the web.roblox/places/create page. This is where the magic happens.
Understanding the interface is key. You’ll see a few important elements:
– The Place Name field where you can name your new place.
– A Template selection area to choose the type of game you want to create.
– A Create button to finalize your new place.
Take a moment to familiarize yourself with these elements. It’s not as complicated as it might seem at first glance.
Pro tip: Start with a simple template if you’re new to this. It’ll make the learning curve a bit easier.
Choosing a Template
When you’re starting a new project, picking the right template can make or break your experience. Template Options vary widely, from simple and minimal to complex and feature-rich.
What do you need, and a clean, straightforward design? Or something with more bells and whistles?
Selecting a Template
Choosing the right template depends on your project’s goals. Think about what you want to achieve. Is it a quick, easy setup, or are you looking for something more customizable?
Ask yourself: What features are must-haves, and what can you live without?
Customizing the Template
Once you’ve picked a template, it’s time to make it your own. Basic customization options include changing colors, fonts, and layouts.
You can tweak these settings in the editor. It’s all about making the template fit your vision.
Pro Tip: Don’t overcomplicate it. Start with small changes and see how they look. You can always make more adjustments later.
Using web.roblox/places/create as your base, you can build and customize your project to match your unique style. Keep it simple, and you’ll be up and running in no time.
Naming and Describing Your Place
I once named a place “Mystic Forest Hideout” and it really stuck with players. It was descriptive and gave them a clear idea of what to expect.
When choosing a name, think about the vibe and theme of your place. Keep it short but engaging. A good name can make or break the first impression.
Underline key words in your name to make it stand out. For example, Mystic Forest Hideout. It draws the eye and adds a bit of flair.
Next up, the description, and this is where you sell your place. Be clear and concise.
Tell players what they can do and why they should visit.
Use simple, inviting language. For instance, “Explore a magical forest filled with hidden treasures and secrets.” It’s direct and appealing.
Adding tags is crucial. Tags help players find your place when they search. Use relevant ones that describe the main features and activities.
For example, if your place is a racing game, use tags like “racing,” “cars,” and “speed.” It increases visibility and attracts the right audience.
Remember, the goal is to make your place easy to find and exciting to visit. Follow these tips, and you’ll be on your way to creating a popular spot on web.roblox/places/create.
Setting Up Game Settings

When you’re creating a game, getting the settings right is crucial. It can make or break the player experience. Let’s dive into the basics first.
Gravity, lighting, and player limits are your starting points. These settings lay the foundation for how your game feels. For example, tweaking gravity can change how players jump and move.
Simple, but it makes a big difference. Yukevalo
Now, for those who want to go deeper, there are advanced settings. These are for experienced creators who want to fine-tune every aspect of their game. You can adjust things like collision detection, camera angles, and even the physics engine.
This level of detail can really set your game apart.
Testing is where the magic happens. Before you publish, you need to test and fine-tune your settings. Use web.roblox/places/create to create a testing environment.
Play through your game, see how it feels, and make adjustments. This step is often overlooked, but it’s essential.
Remember, the key is to balance between basic and advanced settings. Don’t get too caught up in the details that you lose sight of the overall experience. Keep it simple, but don’t be afraid to experiment.
Publishing Your Place
Final checks are crucial. You don’t want to publish something that’s not ready. Review your place for any bugs, make sure all the features work, and check if it looks good.
It’s like doing a final walk-through before you open the doors.
Publishing Process: Let’s break it down step-by-step.
1. Go to web.roblox/places/create.
2. Fill in the details like the name, description, and tags.
3.
Choose the right settings for who can access your place.
4. Click “Publish” and you’re done!
Visibility Options: This is where you decide who can see and play your place. Public means anyone can join. Private keeps it just for you or a select few.
Friends only lets your friends in.
Public vs. Private: Public gets more exposure but also more scrutiny. Private gives you control but limits the audience.
Think about what you want to achieve, and more eyes or more control?
Friends Only: This is a middle ground. Your friends can enjoy it, and you can get feedback from people you trust. It’s a good way to test things out before going fully public.
Before you hit that publish button, take a deep breath. Make sure everything is as you want it. Once it’s out there, it’s out there.
Promoting Your Place
Promoting your place on Roblox can be a bit of a challenge, but it’s totally doable with the right approach. Let’s dive into some effective strategies.
Sharing on Social Media
Social media is a powerful tool. You can share updates and teasers about your place on platforms like Twitter, Instagram, and YouTube. Keep your posts engaging and regular.
Use hashtags to reach a wider audience. It’s not always clear which hashtags will work best, so experiment and see what sticks.
Using Roblox Groups
Roblox groups are a great way to connect with players. Join or create a group related to your place. Share updates, host events, and engage with members.
This can help build a loyal player base. But remember, building a group takes time and effort. Don’t expect instant results.
Engaging with the Community
Building a community around your place is key. Interact with players, ask for feedback, and show that you care. Regularly update your place based on player suggestions.
This can make a big difference in keeping players coming back.
Sometimes, it’s hard to know exactly how to engage. Just be genuine and open to ideas. That’s often enough to get the ball rolling.
Creating Your Place
Before you start promoting, make sure your place is top-notch. Use web.roblox/places/create to design and build something that stands out. A well-made place is easier to promote.
Promotion is a mix of trial and error. What works for one person might not work for another. Stay flexible and keep trying different approaches.
Good luck!
Start Creating Your Roblox Place Today
Ready to bring your imagination to life? Follow the key steps: choose a template, customize your place, and then publish it. It’s as simple as visiting web.roblox/places/create.
Creating your own Roblox place is not just easy; it’s incredibly fun. You can design anything from a bustling city to a mysterious island.
The tools are intuitive, making it accessible for both beginners and experienced creators.
So, why wait? Dive into the world of Roblox creation and share your unique experiences with the community.
 Global Exploration Operations Manager
Orynthara Dwell works as the Global Exploration Operations Manager at Yukevalo, where she oversees the coordination and organization of travel data, destination mapping, and field research operations. Her responsibilities include managing exploration logistics and ensuring that all hidden travel insights and curated journey spots are accurately documented and maintained. She plays a key operational role in connecting research findings with the platform’s travel systems, making sure information remains reliable and up to date. Her work supports the company’s mission by ensuring that every travel insight is both accessible and practically useful for global users.
Global Exploration Operations Manager
Orynthara Dwell works as the Global Exploration Operations Manager at Yukevalo, where she oversees the coordination and organization of travel data, destination mapping, and field research operations. Her responsibilities include managing exploration logistics and ensuring that all hidden travel insights and curated journey spots are accurately documented and maintained. She plays a key operational role in connecting research findings with the platform’s travel systems, making sure information remains reliable and up to date. Her work supports the company’s mission by ensuring that every travel insight is both accessible and practically useful for global users.